Hey, lash lovers!
Today, we're diving into the essential routine of cleaning your lash extensions.
This simple, yet crucial process not only keeps your lashes stunning for longer but also plays a significant role in the health of your eyes and natural lashes.
In this article, we will explain how to do it in 5 easy steps and share special tips for the best lash care.
Here is a straightforward video tutorial:
Why is washing eyelash extensions a must?
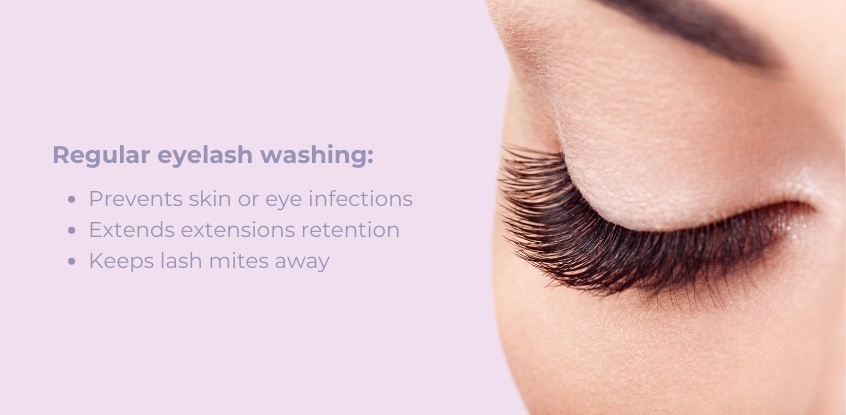
It prevents infections. Regular cleaning helps avoid skin and eye infections that can occur when dirt and debris pile up on your lashes.
Washing extends the lifespan of the extensions. Clean lash extensions last longer! Dirt and oil weaken the adhesive, causing extensions to fall off sooner. Regular washing helps to prevent it.
Washing keeps the lash mites away. Dirty lashes can attract tiny bugs called lash mites. A consistent cleaning routine helps to prevent these unwelcome guests from living on your lash line.

Products you need for washing lash extensions
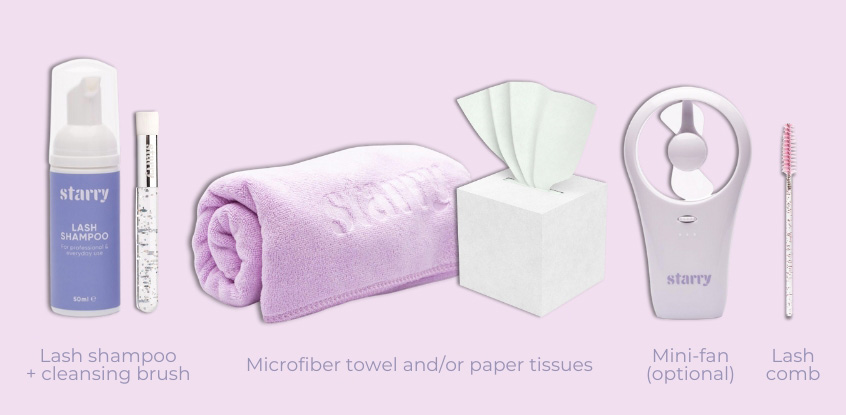
1. Lash shampoo
Opt for a gentle lash shampoo specifically formulated for eyelash extensions to ensure optimal care and longevity.
Make sure the shampoo is safe and does not weaken the adhesive, cause fallout, or alter the shape of your extensions.
Avoid oil-based products. Oily products can weaken the adhesive used to attach the extensions to your natural lashes.
You can check if a product is oil-based by looking at the ingredients list. If oils are listed at the beginning, the product contains a high amount of oil.
However, if they are at the end, there is only a minimal amount.
A small amount of natural oils can be beneficial as they help nourish the natural lashes without damaging the adhesive.
When choosing products, opt for those that include oils at the bottom of the ingredient list to ensure they're used in safe, nourishing quantities.
2. A brush
A special lash cleansing brush gets into the smallest gaps between extensions and helps to remove all the dirt.
A makeup brush with gentle bristles will also work well for thorough cleaning. In case your brush has harder bristles, brush your lashes gently. With softer bristles, you don't need to be so careful.
If you don’t have any suitable brush in hand at the moment, it is okay to wash your lashes with your clean fingers.
3. A microfiber towel, or paper tissues. Use them for drying your lashes.
Opt for soft, lint-free materials to avoid snagging or pulling lash extensions. Look for towels made from gentle materials like microfiber or cotton.
Try to avoid any regular or hard fabrics as they can harm or get stuck to your lashes. Regular paper tissues will also work well.
In addition, you may use a lash fan or a hair dryer to blow cool air to dry your lashes.
An eyelash brush is essential for combing your lashes after cleaning. Usually, it is provided by your lash technician. If you have not got it from your lash artist, you can purchase it from a specialized store.
A clean mascara brush with soft bristles is also suitable for combing your lashes. Be careful with the silicone brushes, they may damage your lash extensions.

Step-by-step guide to cleaning your lash extensions
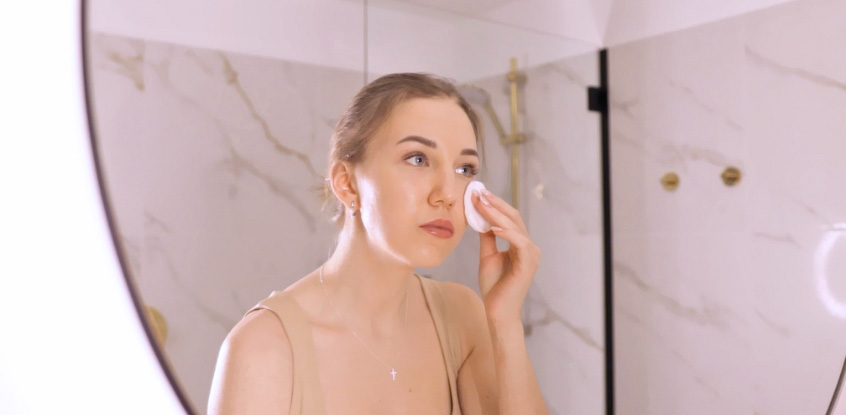
Step 1: Remove makeup
Gently remove any makeup with an oil-free cleanser. Be careful not to touch your lashes with makeup remover during this step.
Be sure to rinse your face thoroughly with water to ensure no cleanser or makeup remover is left behind.

Step 2: Prepare lashes and cleansing brush
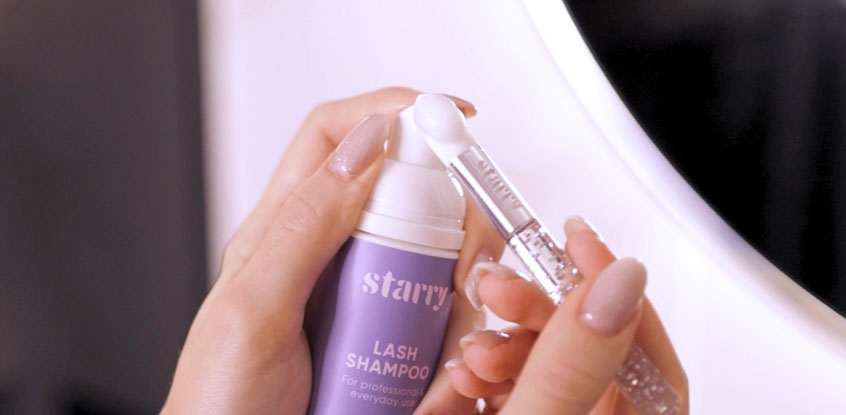
Begin by wetting your eyelashes and the cleansing brush with lukewarm water.
For best results, it's essential to ensure the brush is thoroughly clean. Now apply a small amount of lash shampoo to the clean wet brush and close one eye tightly.

Step 3: Wash your extensions
Begin from the inner corner and slowly move to the outer corner of your lash line.
Brush gently through your lashes, focusing on the lash base where the extensions meet natural lashes.
Use a downward motion: start from the base, and move towards the tips to prevent catching extensions.
In case you have non-sensitive eyes, you can also brush your lashes upwards keeping the eye tightly closed. It helps you to remove dirt better from the bottom lash line. Be extra gentle to avoid tugging.
Concentrate particularly on the lash base where oils and debris can accumulate.
Rinse the brush and repeat the process for the other eye.
Rinse your lashes thoroughly with lukewarm water. Ensure that all the shampoo is washed away.
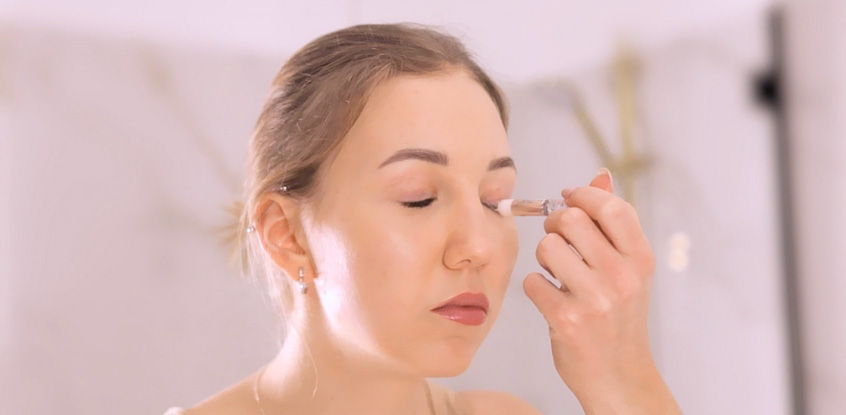

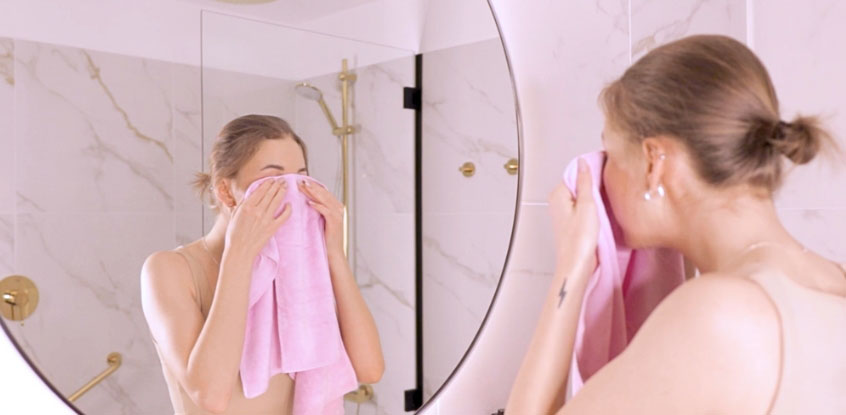
Step 4: Dry the lashes
Gently pat your lashes dry with a clean, lint-free cloth or tissue. Use a downward and upward motion. Avoid rubbing or pulling.
If your lashes are still wet, use a lash fan, or a hair dryer set to blow cool air.

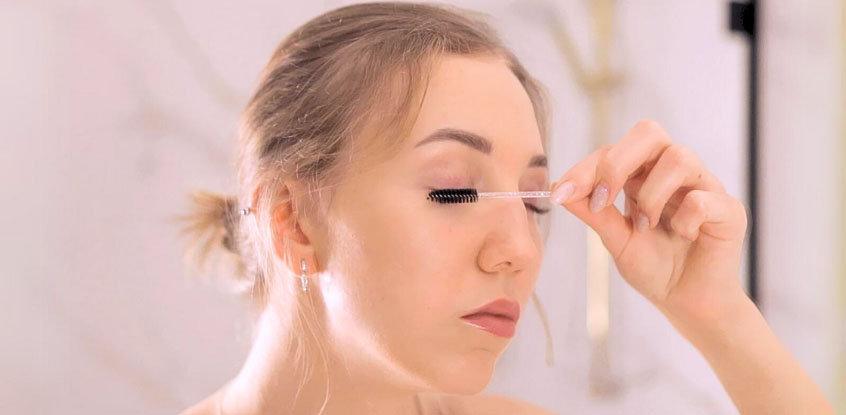
Step 5. Comb the lashes
Comb through your lashes to separate and position them. Separate any lashes that may have stuck together during the wash.
Start by combing downwards with closed eyes, then fluff them into place. Use the brush tip to position any single lashes.
Don't worry if some lashes pop off – it's normal as our lashes naturally shed over time.

Keep in mind
Add this cleaning routine into your weekly schedule. Lash wash is recommended 2-3 times a week for optimal upkeep. If you wear makeup every day, or have oily skin type, wash your lashes daily.
Avoid oil-based products to maintain the longevity of your lash extensions.
Share this article
Help your clients and friends keep their lashes healthy and beautiful!
Thanks for tuning in! :)

